Google Analytics 4 integration with Provide Support live chat allows tracking the following metrics:
- chat window loads - for both online and offline chat window
- initiated chats
- sent offline messages
There are two ways to integrate Google Analytics with Provide Support live chat:
- direct integration with GA4 data stream measurement ID
- via Google Tag Manager
In this article we will cover both methods.
Live chat and GA4 direct integration
Direct live chat and GA4 integration is easy and straightforward. You only need to get your data stream Measurement ID in the GA4 property Admin and enter it into your Provide Support account settings:
- Login to your Google Analytics account
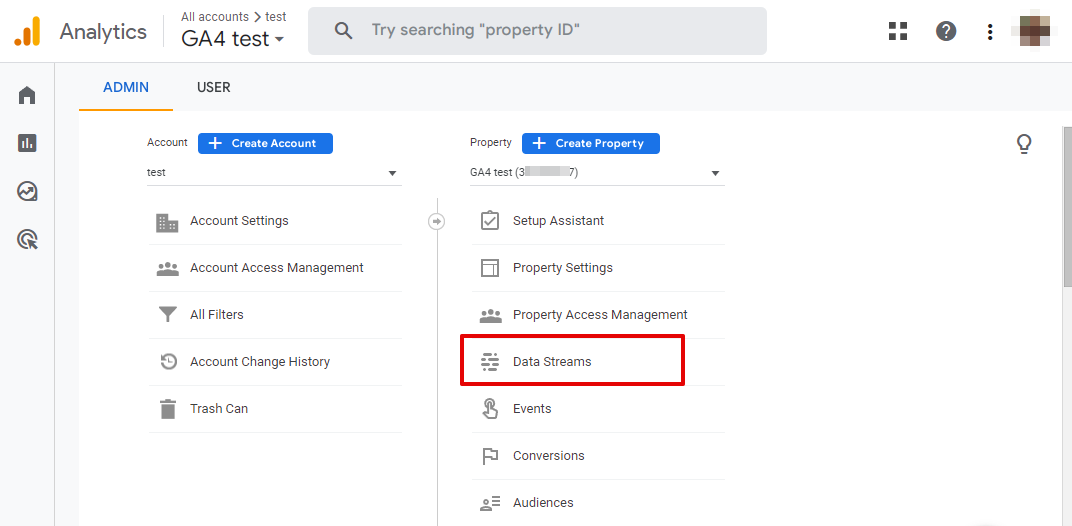
- Click the "gear" icon in the bottom left corner to get to the Admin section

- Choose your GA4 property in "Property" drop down list
- Click "Data Streams" in your property settings
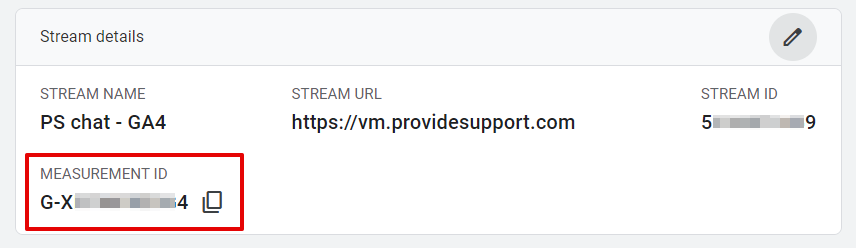
- Click your data stream in the opened list
- Copy "Measurement ID" from the "Stream details" section
- Login to your live chat account Control Panel on Provide Support website
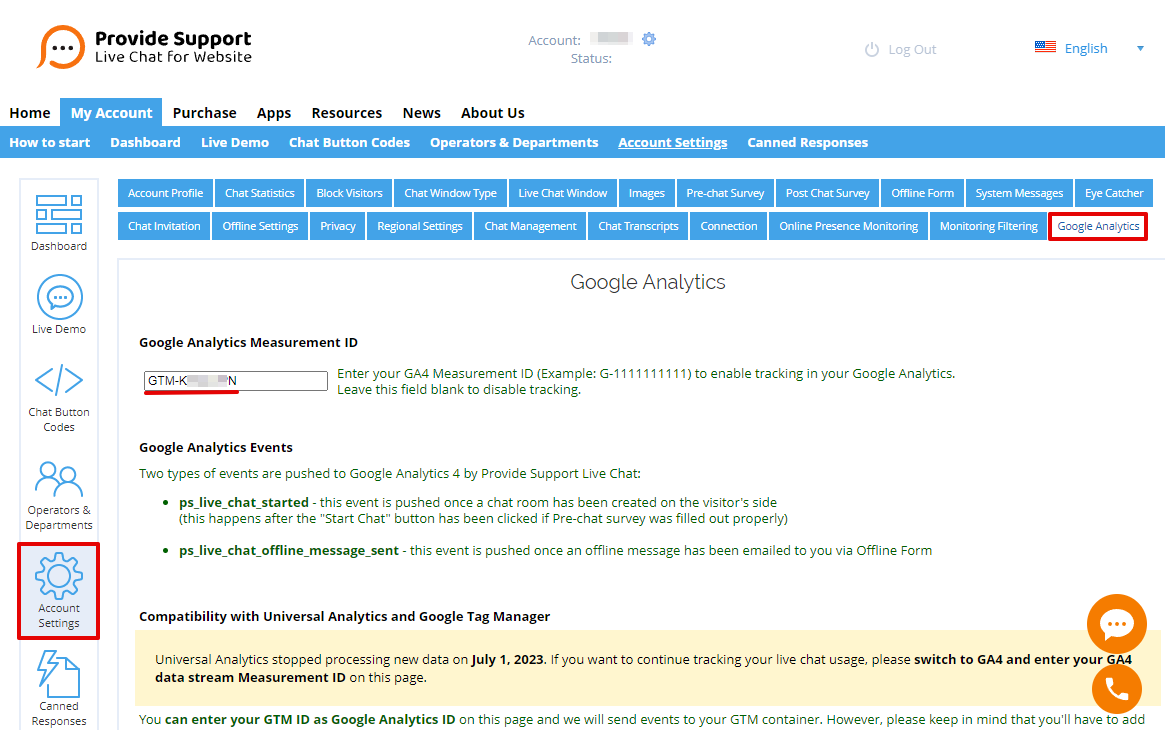
- Navigate there to Account Settings > Google Analytics
- Paste the copied measurement ID into "Google Analytics Measurement ID" field

- Save changes
GA4 will start tracking chat window loads, initiated chats and sent offline messages immediately.
Learn more about tracked events further in this article.
Live chat and GA4 integration via Google Tag Manager
Integration via GTM is more tricky and will require some GTM configuration skills. You will need to create custom triggers and tags to catch custom live chat events with GTM and send them to GA4. You will also need to add additional parameter to your GA4 Configuration tag if your chat window is embedded into your website.
Find below step-by-step instructions for each integration stage.
Adding GTM Container ID to live chat settings
- Login to your GTM account, choose the needed container in the list of containers and copy its ID

- Login to your live chat account Control Panel on Provide Support website
- Navigate there to Account Settings > Google Analytics
- Paste the copied container ID into "Google Analytics Measurement ID" field
- Save changes
Configuring triggers for live chat events in Google Tag Manager
- Navigate to "Triggers" section in your GTM container Workspace
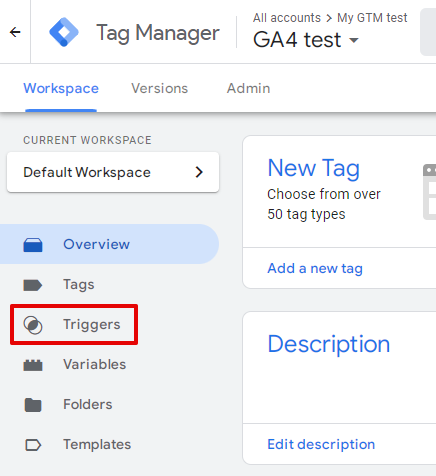
- Click "New" at the top right of the Triggers list to create a new trigger
- Click "Trigger Configuration" pane to start setting up the trigger
- Choose "Custom Event" as the trigger type
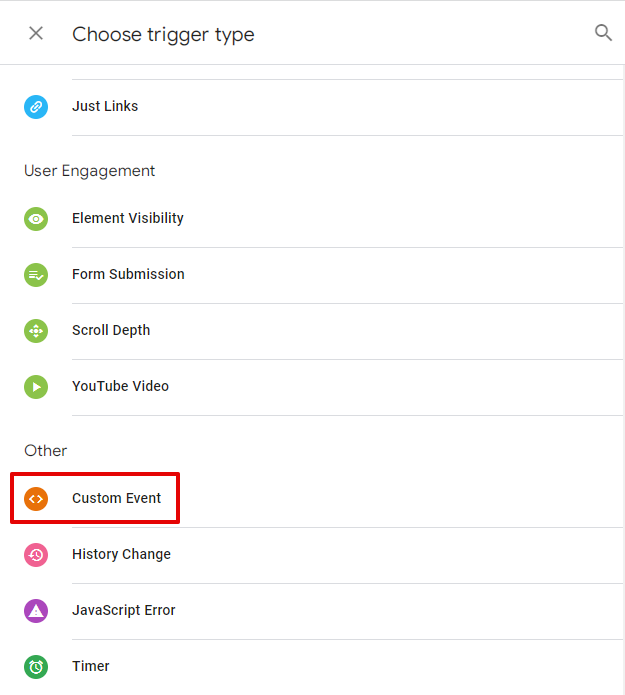
- Enter
ps_live_chat_startedas the Event Name - Set some meaningful name for your trigger, e.g.
Custom event - chat started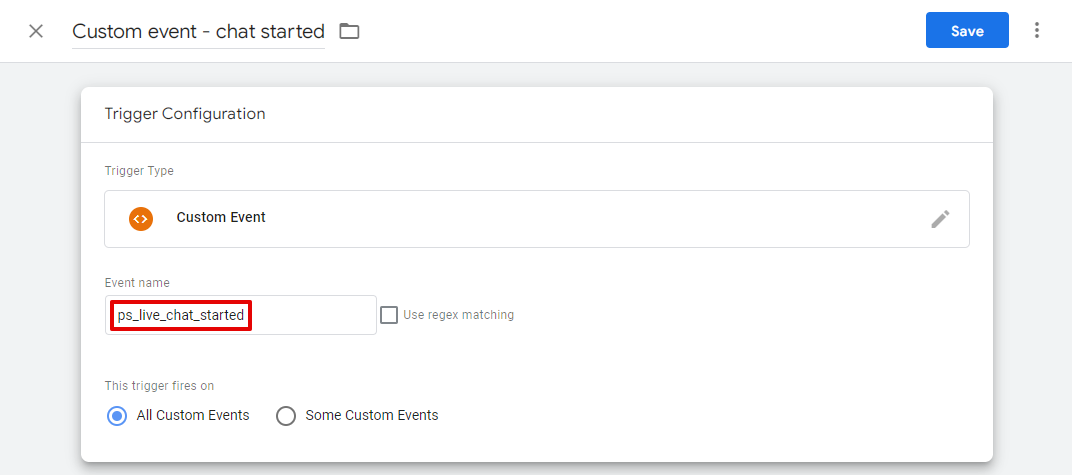
- Click "Save" button at the top right of the form
- Repeat steps 2-7 to create similar trigger for
ps_live_chat_offline_message_sentevent and save it with some meaningful name as well (e.g.Custom event - chat offline message sent).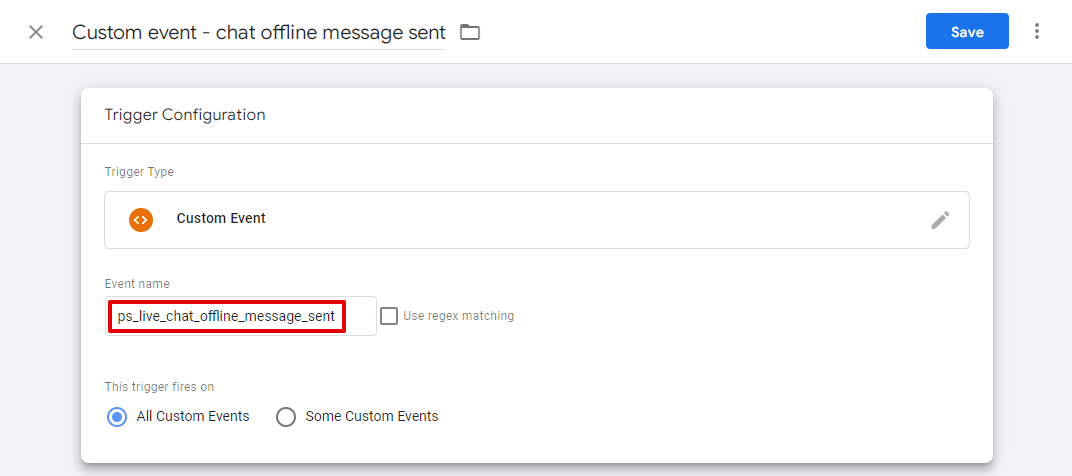
Now you have two triggers that will catch custom events fired by your chat window. It's time to send these events to GA4. You'll need to create two tags for this.
Configuring tags for live chat events in Google Tag Manager
Let's start with the tag sending an event when a chat is initiated.
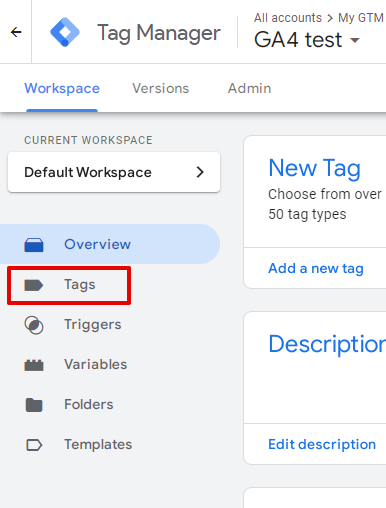
- Navigate to "Tags" section in your GTM container Workspace
- Click "New" at the top right of the Tags list to create a new tag
- Click "Tag Configuration" pane to start setting up the tag
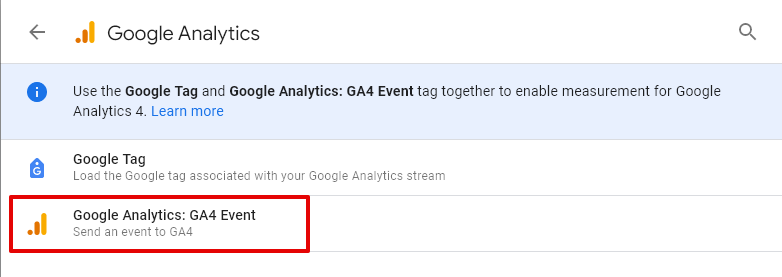
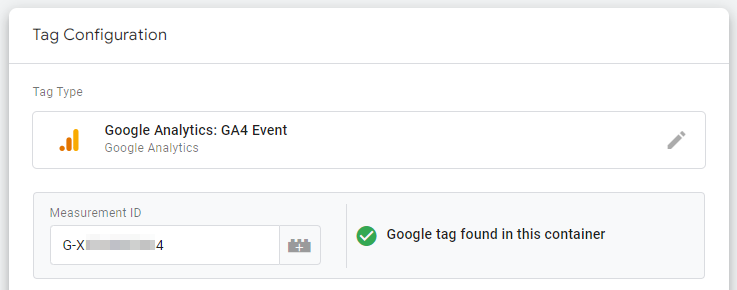
- Choose "Google Analytics: GA4 Event" in Google Analytics section as the tag type
- Enter your GA4 property Measurement ID to "Measurement ID" field. Make sure to use the same Measurement ID that you have in your Google Tag configuration. You'll see the green mark and text "Google tag found in this container" if the right ID is entered.
- Enter the event name as you want it to appear in GA4 into Event Name field. You can choose your own event name or stick with Provide Support custom events' names. In this example we will use our default event names and enter
ps_live_chat_startedon this step - Scroll down the from to the "Triggering" section and click it
- From the list of available triggers choose the one you created to catch
ps_live_chat_startedevent - Set some meaningful name for your tag, e.g.
GA4 Event - live chat started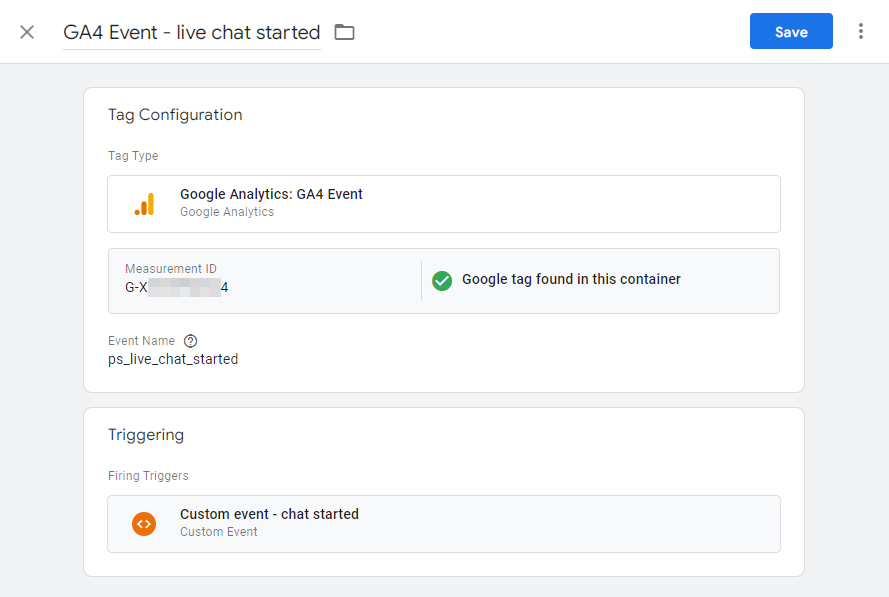
- Click "Save" button at the top right of the form
- Repeat steps 2-10 to create similar tag that will be triggered by
ps_live_chat_offline_message_sentevent and save it with some meaningful name as well (e.g.GA4 Event - live chat offline message sent).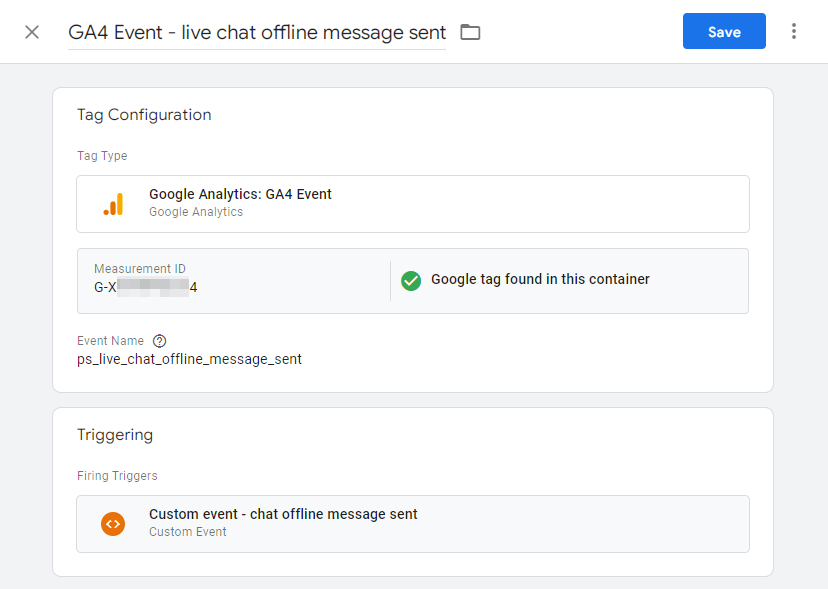
Now you have two tags that will send custom events to your GA4.
If your chat window is opened as a popup window, you can finish the setup now by submitting configuration updates to GTM. After this GTM will start catching events fired by your chat window and will send them to GA4.
But if your chat window is embedded into your website, you need to update your Google (former GA4 Configuration) tag.
Updating Google (former GA4 Configuration) tag in Google Tag Manager
When chat window is embedded into your website, it's considered to be a third-party content. Default GA4 configuration won't work with it as it works with first-party content only. So you need to explicitly allow GA4 working with a third-party content. For this you need to add cookie_flags parameter with value max-age=7200;samesite=none;secure to your GA4 configuration.
When the direct live chat and GA4 integration is used, we add cookie_flags parameter automatically and you don't need to do anything.
But in case of GTM integration, you need to pass cookie_flags parameter to your Google Analytics via its GTM configuration tag. For this do the following:
- Navigate to "Tags" section in your GTM container Workspace
- Click there your Google tag (previously it was GA4 Configuration tag) and start editing it
- Click "Add parameter" in Configuration settings section
- In the appeared row enter
cookie_flagsas Configuration Parameter andmax-age=7200;samesite=none;secureas Value - Click "Save" button at the top right of the form
- Submit the container configuration update

Where to track live chat events in GA4
The easiest way to check your chat events is to use Reports / Realtime view.
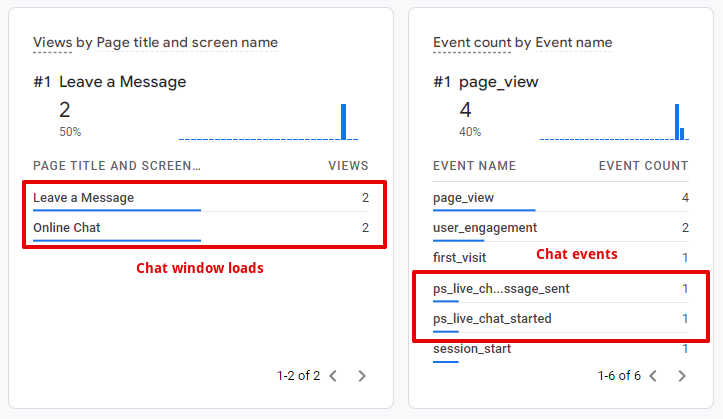
- default page_view event will be fired when a visitor opens the chat window. You can separate the chat window views from other pages' views by page_title or page_location event parameters. Default online chat window title is "Online Chat" and offline chat window title is "Leave a Message" for English locale. However, you can set your custom titles in the chat window settings.
- ps_live_chat_started custom event will be fired when a visitor starts a new chat
- ps_live_chat_offline_message custom sent event will be fired when a visitor submits Offline Message form
Both custom events have all default event parameters such as page_location or page_referrer. page_referrer will help you to determine the pages where your chat is opened most frequently. And page_location may come in handy if you track several chat accounts in one GA4 property.
